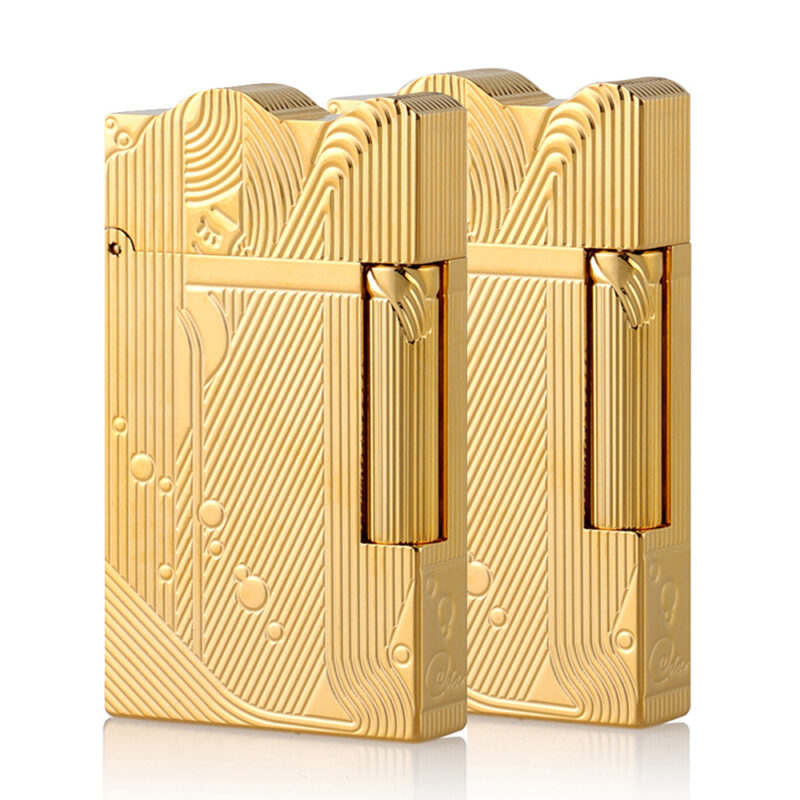
Faq
How to Add a Flint to Sanji Lighter?
Oct
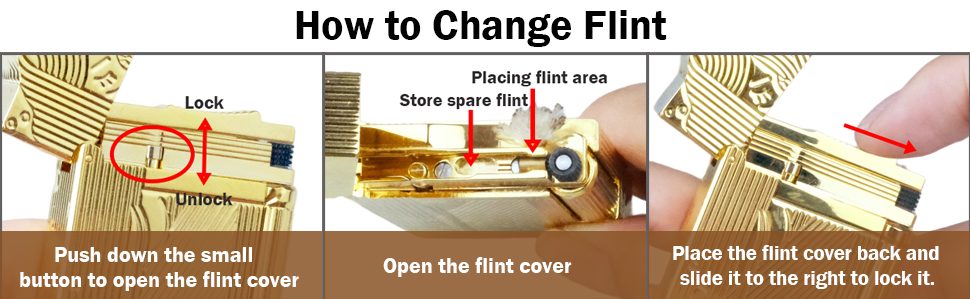
How to Change the Flint in Your Lighter
Changing the flint in your lighter is a simple process that can extend the life of your favorite lighter. This guide will walk you through the steps to replace the flint quickly and easily.
Step 1: Open the Flint Cover
To begin, locate the small button on the side of your lighter. This button is typically found near the bottom. Push down on this button to unlock and open the flint cover. The image shows an arrow pointing to this lock mechanism, indicating the direction to push for unlocking.
Step 2: Access the Flint Area
Once you’ve opened the flint cover, you’ll see the internal mechanism of the lighter. The image highlights two important areas:
- The “Placing flint area” – This is where you’ll insert the new flint.
- The “Store spare flint” section – Many lighters have a small compartment to store extra flints for future replacements.
Step 3: Replace the Flint
Although not explicitly shown in the image, this step involves removing the old flint (if any remains) and inserting a new one into the “Placing flint area.” Make sure to use the correct size flint for your lighter model.
Step 4: Close the Flint Cover
After inserting the new flint, it’s time to close the cover. The final panel of the image shows a finger pushing the flint cover back into place. Slide the cover to the right until you hear or feel it click into the locked position.
By following these steps, you can easily replace the flint in your lighter, ensuring it continues to produce sparks reliably. Regular maintenance like this can significantly extend the lifespan of your lighter.